
We celebrated a birthday round’ these parts this week. No huge fanfare – just a day packed with special memories, followed by a simple supper with close friends. Oh, and we had one ecstatic little girl. And cake.
A few months ago, I came across this dangerous recipe, and I’ve been devouring it ever since. It’s hard to top rich and buttery hot chocolate lava gushing out on to a silky bed of vanilla ice cream. Ahem. Let’s keep this a G-rated recipe, mmkay? Let’s just summarize it as just plain gooood. And easy. This recipe takes one bowl, one measuring cup, one tablespoon, and about 2 minutes to prepare. A very dangerous prospect for my waistline. The relative ease of preparation is what piqued my interest for our casual birthday dinner, though. A girl’s gotta have cake, but I didn’t feel the need to go “all-out” on any elaborate presentation.
So I opted for Molten Chocolate Cake. Since I knew my target audience for this birthday cake (a two-year old) might not enjoy molten deliciousness to the same extent her lava-crazy Mama does…a few minor adjustments resulted in an incredibly delicious dense, truffle cake, undeniably reminiscent of chocolate cheesecake.
One of my favourite aspects of this recipe is the size (originally designed to make 4 individual portions) which is easily customizable for small or large groups. I typically half the recipe which makes two perfect portions (they can also be refrigerated and re-warmed in the microwave…or you could just eat both portions yourself…I wouldn’t judge). This time I opted to make a single cake, perfectly toddler-proportioned.
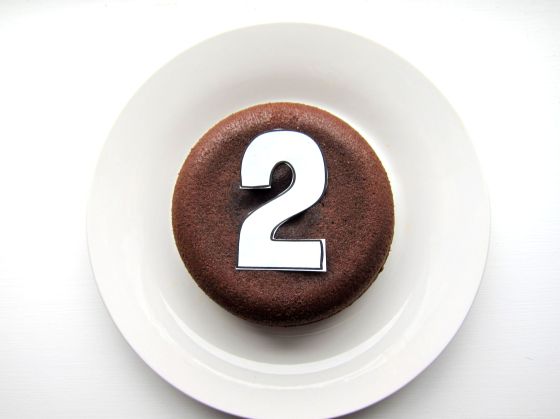
After baking the cake for a bit longer than normal (see details below), I started debating my decorating strategy. First instincts were for a simple, classy look. Thirty seconds in Word and a few nifty scissor moves later, I had a stencil.
1. Overlay stencil on cake.
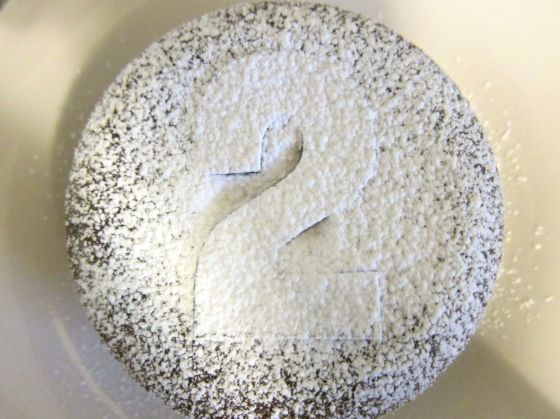
2. Sprinkle with icing sugar (forgetting to move to better lighting, optional).
3. Remove stencil and make everyone believe you spent hours meticulously placing every flake of powdered sugar by hand to create such a masterpiece.
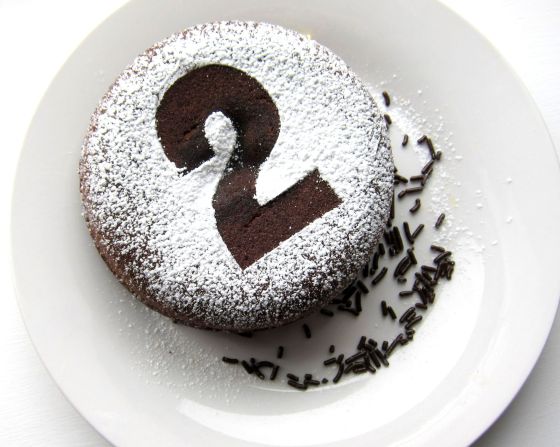
This would also look great with a monogram/initial…or anything your little ol’ heart desires. Easy peasy.
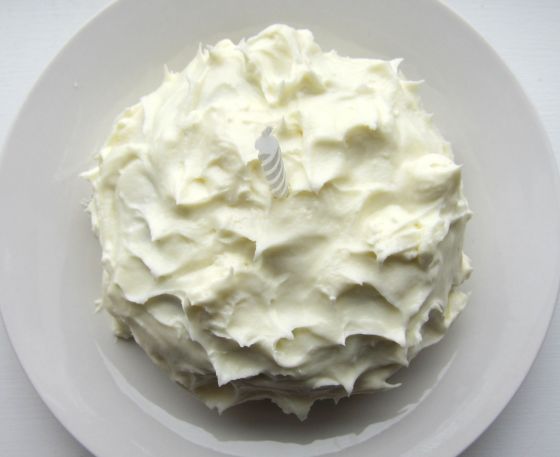
While I love the classic look, I thought it lacked the “joie de vivre” that should be synonymous with turning the big T. W. O.
So I upped the ante with some basic cream cheese frosting…
and then jumped on the train headed straight to colour town (hive five, Guy Fieri)…
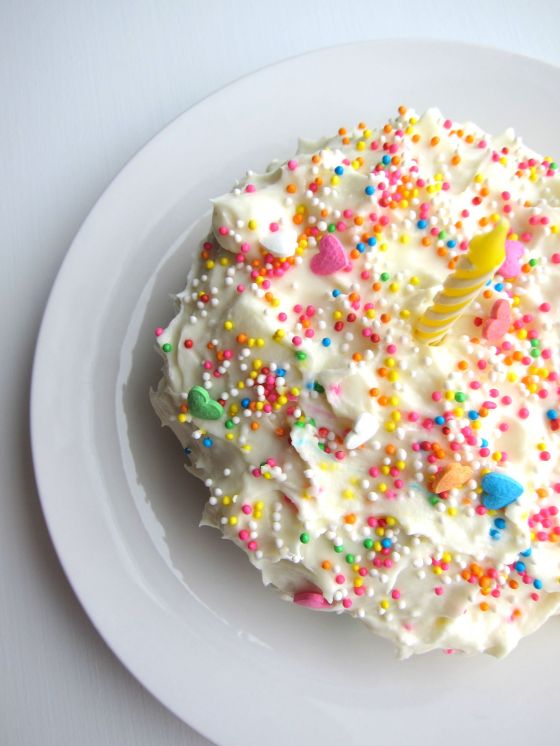
…except, none of us are actually huge fans of sprinkles. So while I could appreciate the aesthetics, it looked like a bit more dyed sugar than our palate could handle (so I did tap the majority of the sprinkles off before it hit the table avec burning candles).
Fluffy icing, rich chocolatey cake…and just the right size for a little girl.
Ingredients:
1/4 cup butter
2 squares baking chocolate (I use Bakers brand, but plan to switch to regular dark chocolate from here on out)
1/2 cup powdered sugar (extra for garnish if desired)
1 whole egg
1 egg yolk
3 tablespoons flour
Directions:
1. Preheat oven to 425°
2. Place butter and chocolate into a microwavable bowl and microwave for 1 minute. Remove and stir with a whisk until smooth. Add icing sugar and stir. Add egg and egg yolk, and stir for about 30 seconds (the batter with become silky and thick). Add flour and whisk until just combined.
3. Spray small round dish (or two small custard bowls OR two silicon muffin cups) and add batter. I used one with a 4-inch diameter.
4. Bake single cake for approximately 15 minutes; custard bowls/muffins about 12-14 minutes depending on desired “doneness” – the longer you cook these bad boys, the less lava you’ll be rewarded with at the end. To get “truffle” cake (skipping the lava for the little one’s benefit), I baked the cake for closer to 20 minutes, but watch it carefully to make sure the top doesn’t start to burn.
5. Allow to cool for about 5 minutes, and then invert on to serving dish.
*I have also experimented with adding 1.5 extra tablespoons of icing sugar, adding 1.5 tablespoons cocoa powder, and eliminating flour completely, as an easy gluten-free alternative. Works great.


